How to Stop a Dog Jumping Up

Although we specialise in helping owners fix behaviour problems such as aggression and separation anxiety, we are often asked to help solve more common issues as well! Jumping up is dog behaviour that many owners struggle to control, so here are some of our best hints and tips if you are in the process of teaching your dog not to jump at people!

Why do dogs jump on people?

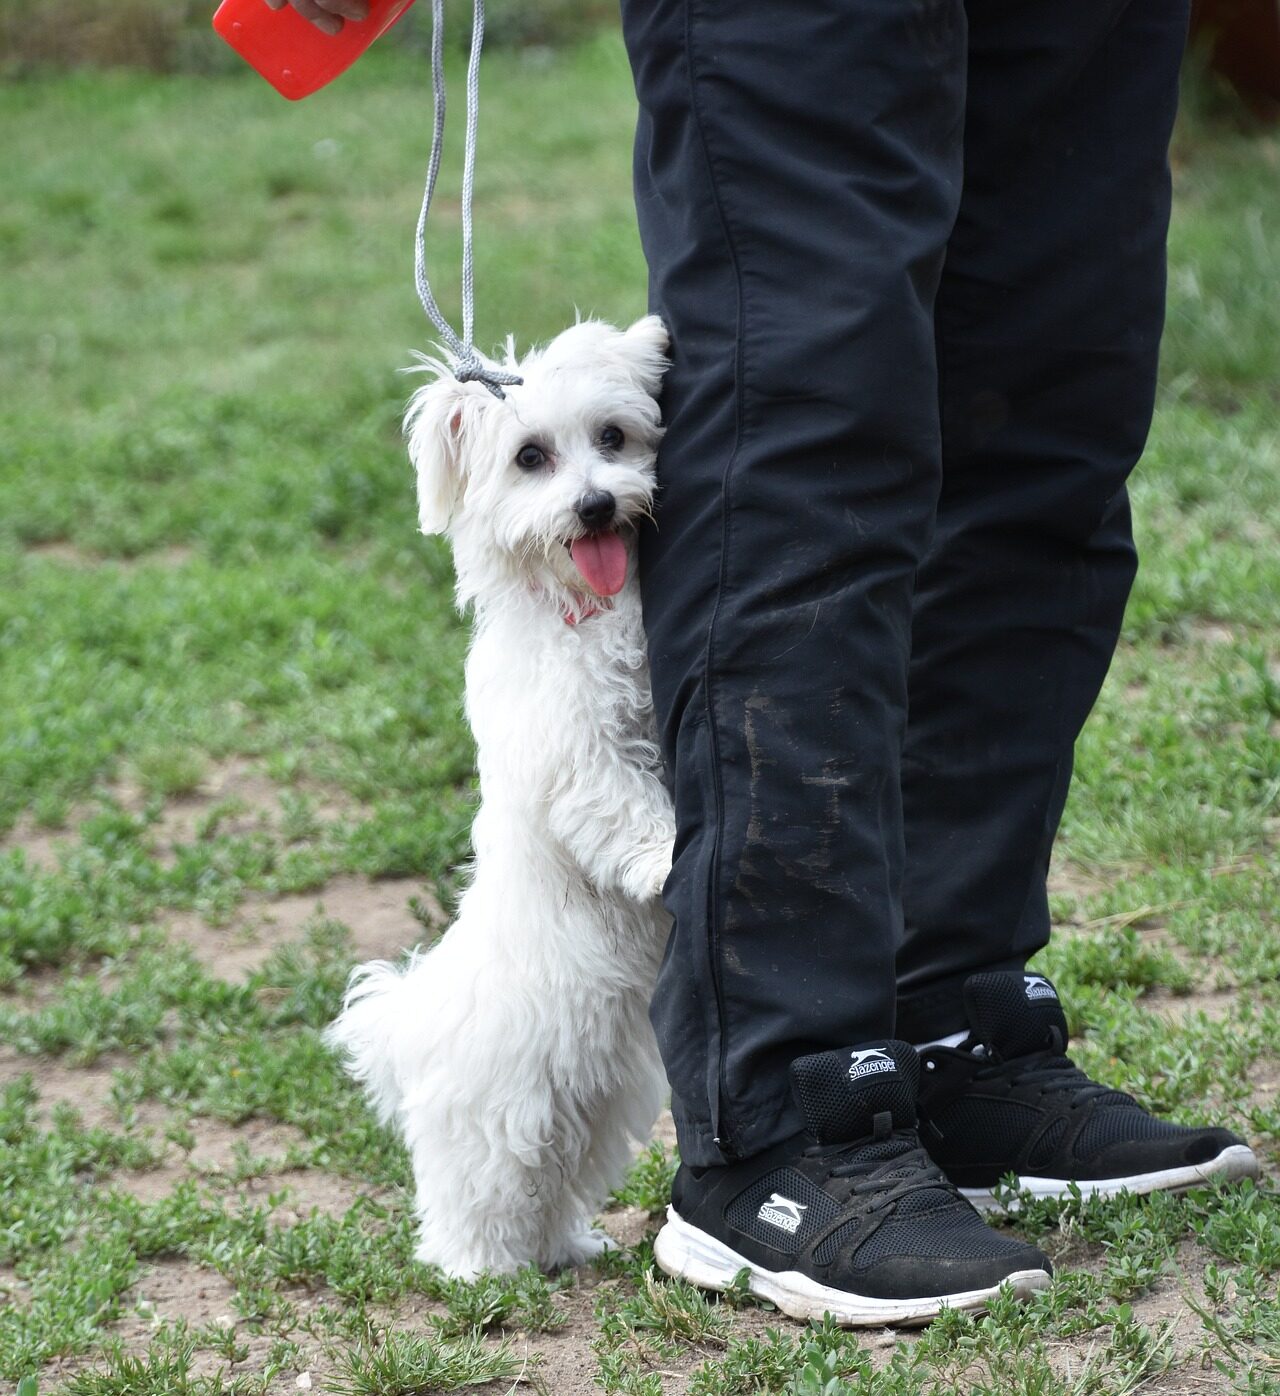
Dogs are naturally agile animals who are easily able to climb or jump in order to access things they desire – from food items to toys to the faces of humans where expressions, eye contact and spoken words come from.

For smaller dogs and puppies, hands are also out of reach and generally viewed as bringers of good things – food, treats, toys, and affection.

Jumping up as such is not an inherently “bad behaviour”, but for various reasons, it can be something you’d rather your dog didn’t do.

Three ways to stop your dog jumping up

If jumping up is an undesirable behaviour to you, you have three main ways to tackle it:

  1. Discourage the jumping
  2. Encourage better alternative behaviours
  3. Manage the behaviour

Since dogs often thrive best when we teach and reward them for succeeding at what we want from them, a combination of all three is the most effective way to stop your dog jumping up at people. Bear in mind different situations might call for different solutions or a mix of techniques.

Discourage your dog from jumping up

You can discourage your dog from jumping up at you by turning away from your dog when they jump. This prevents them from gaining access to the reward they are seeking (your attention!). You can also immediately leave the situation or the room entirely to signal “I don’t want to interact if you behave like that”.

You could also discourage jumping by applying an unpleasant stimulus – however, this may lead to your dog associating yourself or other people with the unpleasant experience, instead of linking it to their jumping up, so we would not recommend this option.

Reward an Alternative Behaviour

Instead, consider what you would like your dog to do instead of jumping when they meet a person. Would a sit be nicer perhaps? Or is just keeping all paws on the floor sufficient?

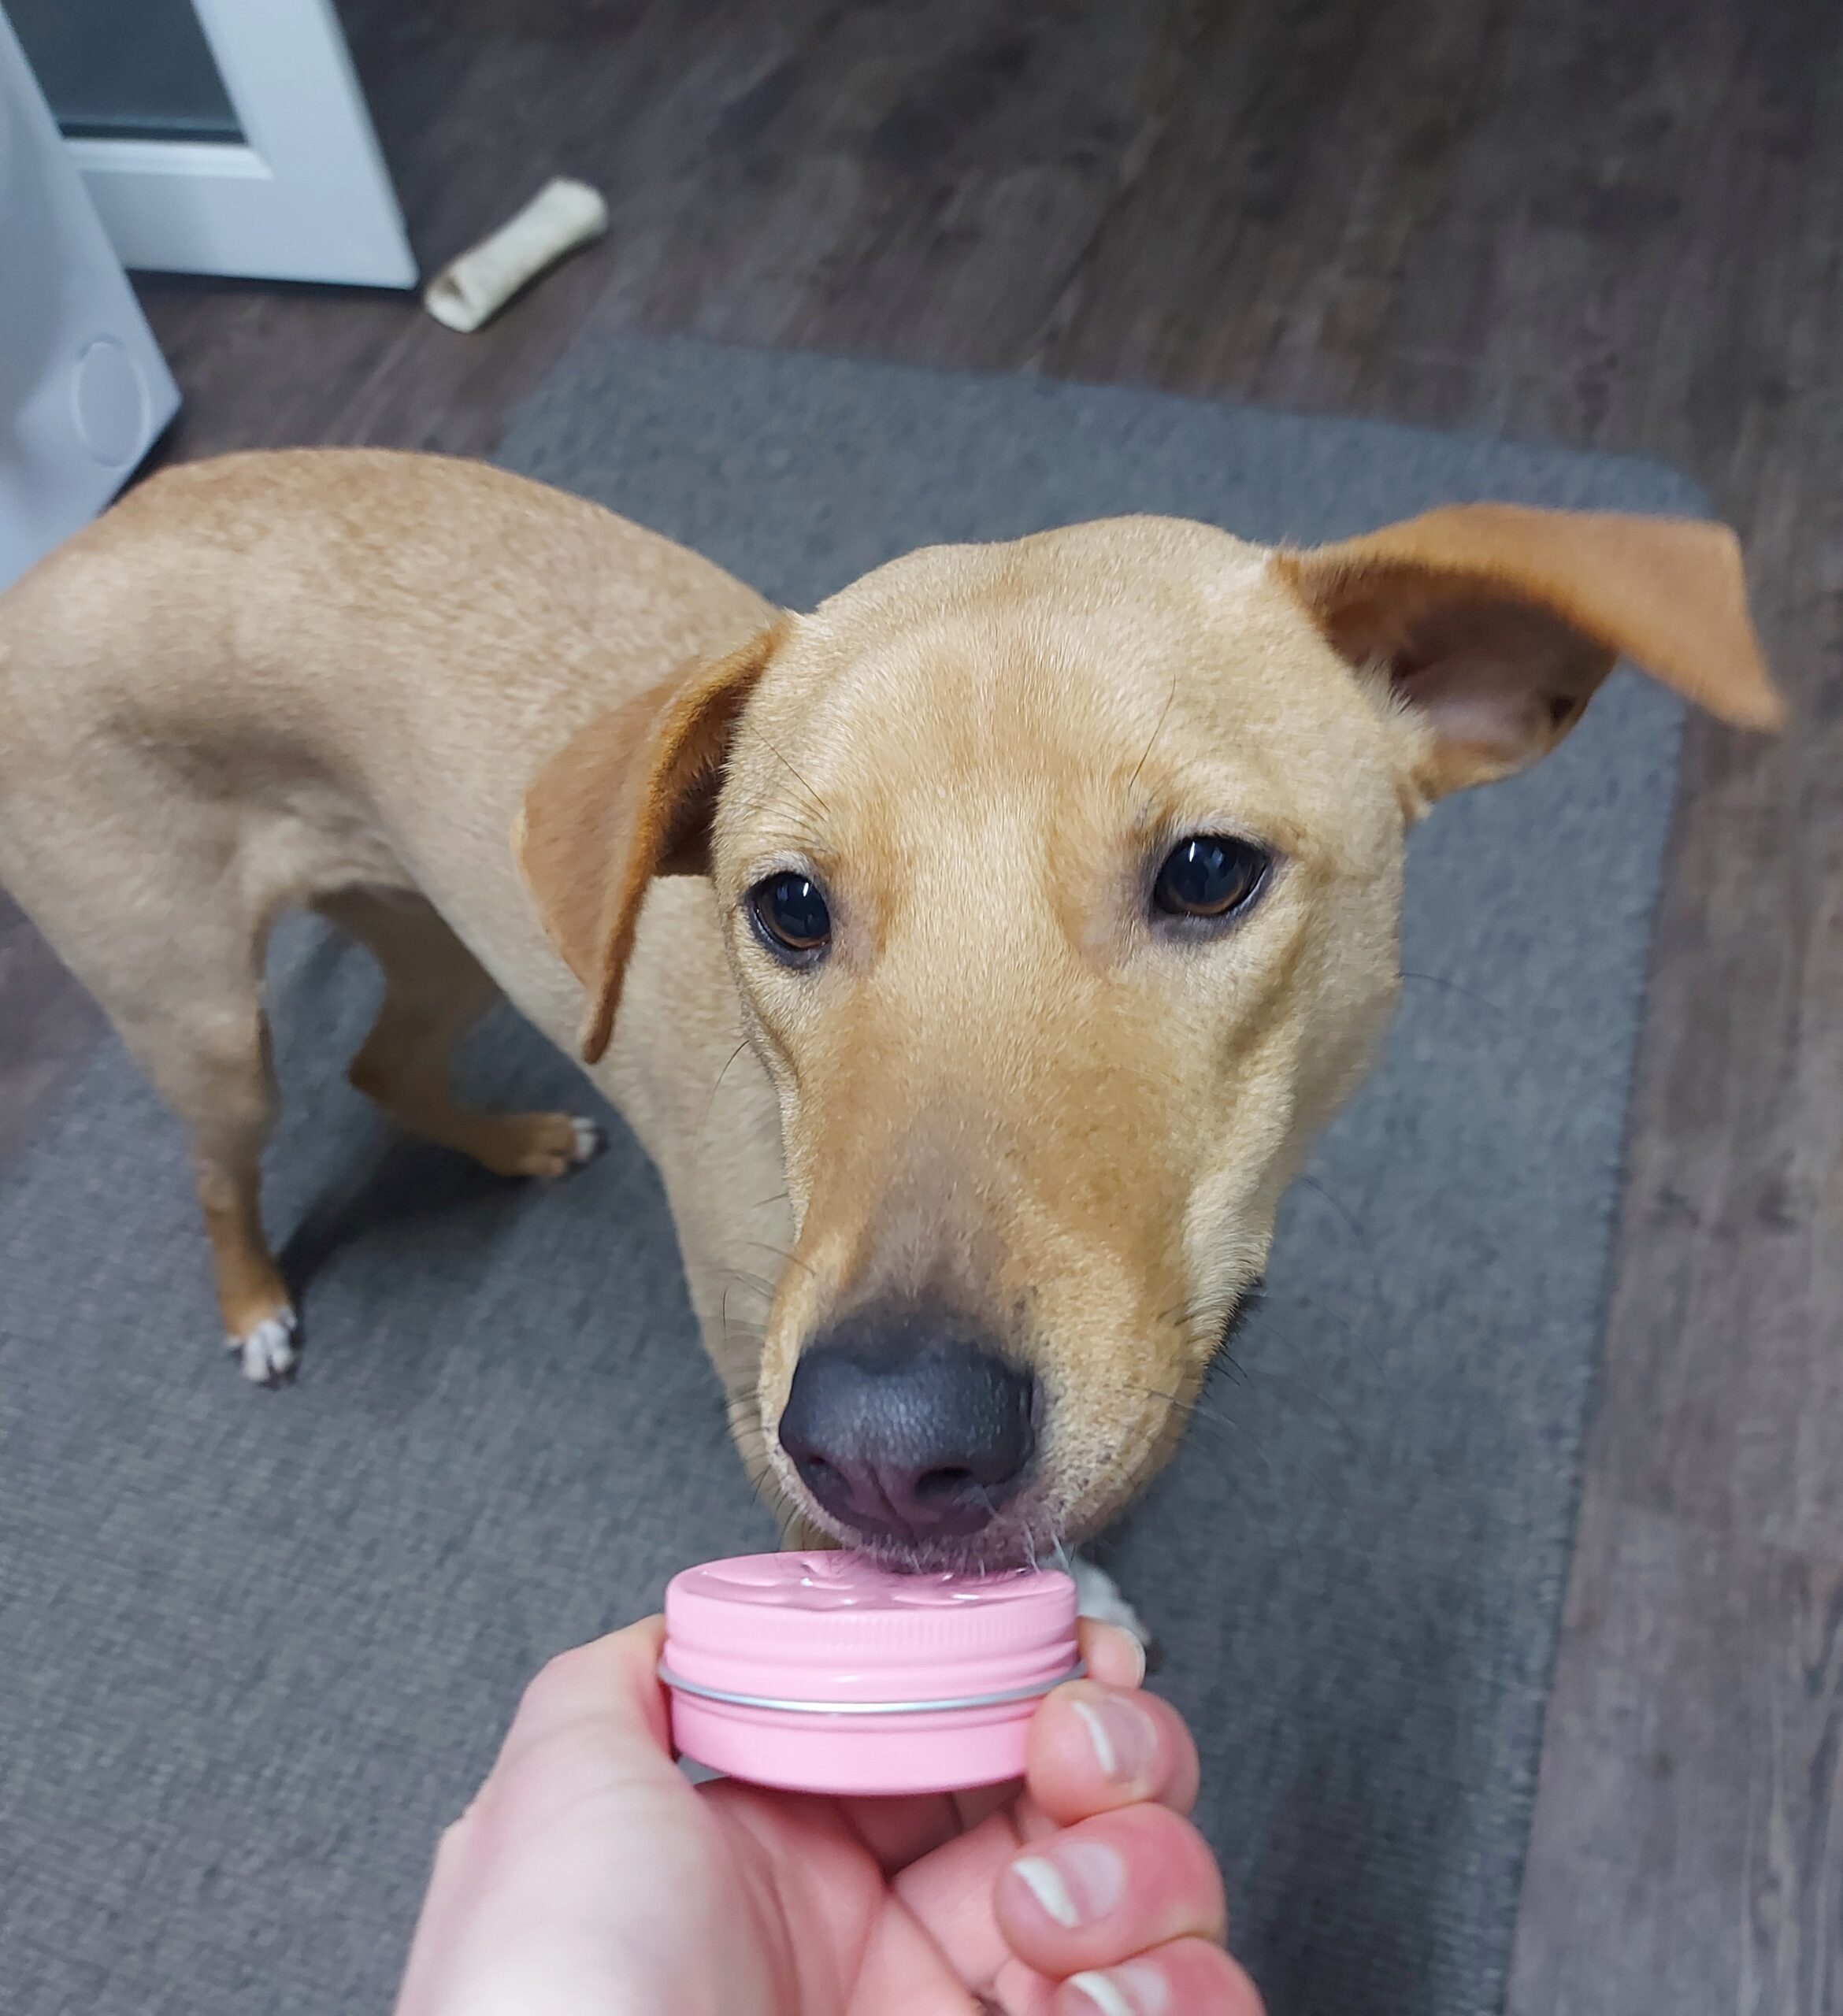
You can encourage these better alternatives by making proximity to the floor more rewarding. Feed your dog treats on the floor by your (or other people’s) feet to make orientation downwards rather than upwards more interesting (remember, as far as dogs are concerned, usually all of the rewarding stuff from humans comes from above!).

You can also ask your dog to perform a well-known trained behaviour like sitting when they meet a person. Over time, repetition and lots of rewards, your dog will learn that if they sit during greetings, they will earn good things.

Manage your dog’s behavioural options

In addition to teaching your dog what you do want them to do, a very important part of the training process is also to manage the situation to help your dog succeed.

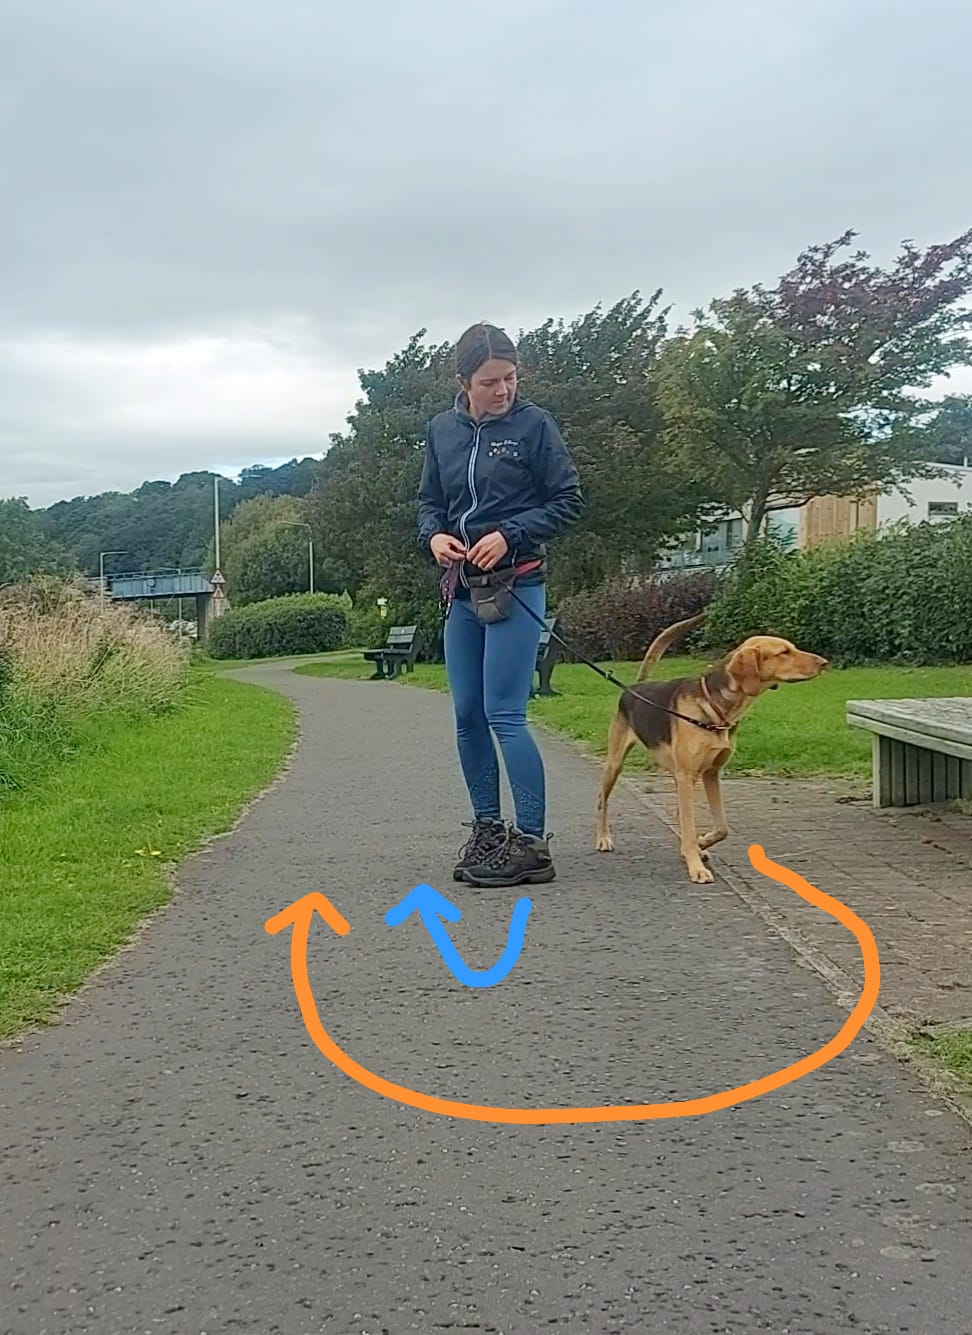
If your dog tends to immediately jump at people in close proximity, then rather than letting them practise this behaviour and then having to wrangle your dog off the person, how about stepping on their lead before the other person approaches so that your dog doesn’t have a chance to get their muddy paws all over your friend’s new dress? Because this management option makes it almost impossible for your dog to make the unwanted choice, it also means that your dog gets much more opportunities for being rewarded for good behaviour!

In your home, how about using a baby gate or room divider to prevent your dog from gaining reinforcement right away when guests come in? Instead, they can calm themselves down behind the barrier, and you can then reward every bit of desired behaviour without your guests being jumped on. Your guests can then move closer while your dog is still managing to remain standing or sitting politely.

If your dog gets overly excited each time a stranger wants to pet them, you can absolutely also simply ask the person not to engage with your dog in order to help with your dog’s training! Instead, ask the person if they would be happy to stand and chat to you while you reward your dog for good choices. This allows your dog to gradually learn what behaviour is expected during these situations without being overwhelmed by the excitement of meeting a new person.

This option is also great for dogs who jump to create space between them and other people. Contrary to popular belief, not all dogs jump up in excitement or because they want interaction……

Jumping up can mean your dog is uncomfortable or anxious

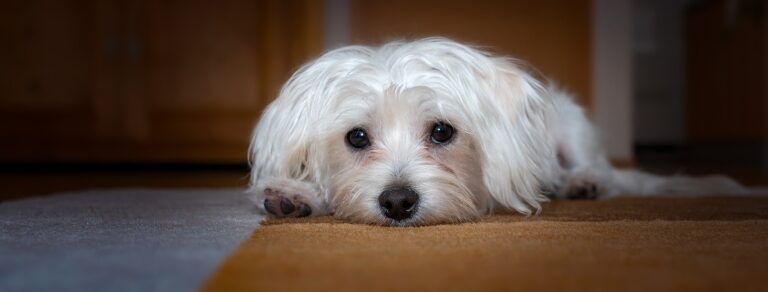
While many dogs jump up in order to gain attention and affection, there are some dogs who jump up when they are uncomfortable as it typically makes the person back away and give them space.  Watch your dog for signs that they might be trying to get a person to back off. For example, they may only jump when someone goes to lean over them or reach over their head, or you might notice subtle signs like tongue flicks or your dog glancing away before they jump up.

These dogs should not be put into situations where they need to begin jumping in order to feel safe, so instead, ask the person to give your dog space and then reward your dog for remaining at a distance. These dogs often welcome a safe space at home (such as a baby gated area or pen) and sometimes need to re-learn to offer a behaviour such as walking away from a person, if they have previously only experienced being “stuck” in a situation and have learned that jumping up is the only effective way to get space.

Whatever your dog’s reasons for jumping up, there is always a solution. Remember that shaping behaviour is all about creating learning opportunities. Be patient and observant with your dog whilst they learn and if things don’t go to plan – reassess and try a different set-up next time.

Author: Christina Wells

Scent Training Made Simple

Step 1

It is widely known that dogs are really good at sniffing. There are dogs who sniff out drugs, dogs who point out bombs, dogs who can smell impending medical crises, and of course, hunting dogs who can sniff out game. Not only does sniffing help us humans in various ways, but it also helps the dogs themselves! Their sense of smell is how dogs “see” the World. Their sense of smell is arguably more important to them than their eyesight. This means that to feel truly fulfilled, to feel truly “dog”, our dogs need to sniff! It exercises their mind and their body; it makes them feel good, it calms them down and can help promote good behaviour.

Most of our dogs will find that stray bit of cheese you dropped on the floor, or the piece of kibble that rolled under the fridge. But how do we teach them to find something that isn’t immediately edible?

It’s very simple, really – dogs will sniff out inedible items for us because they have learnt that the item makes good things happen! Typically, this is food, but for some it might be their favourite toy. Every time they find the item, they get rewarded handsomely.

And this is our first training step!

You will need:

  • Scent item (this can be anything you choose as long as it’s safe; a particular small toy, a tin with a dried clove inside and a few small holes in the lid; there are lots of options!)
  • High-value small treats
  • Clicker or marker word (a marker word may be easier as you’ll have both hands free)

Once or twice a day, for a few minutes, have your treats ready and present your dog with the scent item. As soon as they show any interest, mark, or click, and feed them a couple of treats right above the scent item. Feeding them right above the scent items will encourage your dog to gravitate towards the item. Then, toss a treat to reset your dog, and present the item in a slightly different location. Again, as soon as your dog shows any interest, mark and reward on the item. For the first couple of sessions, hold the item in your hand before you progress to placing the item on the floor in close proximity to where your hand would be in the next sessions.

Note: In between training sessions, keep your scent item in an airtight container, ideally in the freezer! This is to keep the odour distinct and prevent your dog from learning that the odour doesn’t matter.

Step 2

If your dog immediately moves their nose to the scent item in anticipation of the reward every time you present the item on the floor, you are ready for step 2.

You will need:

  • Your scent tin or scent item from Step 1
  • High-value small treats
  • Clicker or marker word (a marker word may be easier as you’ll have both hands free)

Begin your training session with a couple of repetitions of step 1: holding your scent item in your hand and marking and rewarding your dog for moving their nose to it. Then, progress to placing your scent item on the floor and mark and reward your dog for seeking it out with their nose.

If this goes well, you can now progress to adding a little bit of distance between your dog and the scent item by placing it a little bit further away from yourself. You can do this while tossing a treat to reset your dog.

Initially, your dog may look a little perplexed when they discover that the scent item isn’t where it had previously been located. If this happens, simply freeze your body for a few moments and let your dog figure it out by themselves. Their sense of smell should kick in and they should follow their nose to the scent item.

As soon as their nose reaches the item, mark and generously reward your dog above you’re the scent item. Then, toss a treat to reset them and move the tin to a different location.

Over the course of perhaps two or three short sessions, you can move the scent item up to two or three metres away from where you are standing.

When your dog is confidently seeking out the scent item after each reset, you can now introduce a verbal cue like “Find it!” or similar.

As soon as you observe your dog striding towards the scent item, say your cue and wait for your dog to locate the item before marking and rewarding as usual. The first few times you use your verbal cue, your dog might interrupt their search and look at you, wondering why you’ve suddenly spoken to them. As before, simply freeze your body for a moment and allow them to figure it out by themselves.

In preparation for Step 3, your dog should practise confidently locating a visible scent item or tin within a 2 or 3 metre radius of your original location (on verbal cue, if you’ve introduced one).

Step 3

You will need:

  • Your scent tin or scent item
  • High-value small treats
  • Clicker or marker word (a marker word may be easier as you’ll have both hands free)
  • A rug, some cardboard boxes, towels, similar objects

Step 3 will look and feel a lot more like “proper” scent training. This is because we are now fading out the visual cues for your dogs.

As always, start your session with a few repetitions of the previous learning step. If your dog succeeds easily, you can progress to today’s lesson.

Scatter your rug, towels, boxes, and other items around your training area. You will be using them to gradually hide your scent tin or item for your dog to find!

Initially, only hide your scent item partially. Tucking it under the edge of a rug, for example, is a great way to start.

When you first moved your scent item in Step 2, your dog might have been a little bit confused. You might find that they pause for a moment here, too. Freeze your body and let your dog work out where the item is. As soon as their nose reaches your scent item, mark the behaviour, and generously reward your dog on the scent item.

Toss a treat or two to reset your dog and hide the item in a different fairly easily accessible location, then let your dog find the item.

During this training phase it is really beneficial to vary your hides as much as you can. This teaches your dog that the environmental context doesn’t matter – only the odour matters!  Use buckets, chairs, boxes, fabrics, flowerpots…. Just make sure that the scent item is still easily accessible to your dog and that they are able to succeed each time.

Step 4

In Step 4, we are progressing your dog’s ability to locate the target scent item in different hiding places, and we will teach your dog to immediately begin searching an area, even when you’ve left them in a different room while you hide your scent item.

You will need:

  • Your scent tin or scent item
  • High-value small treats
  • Clicker or marker word (a marker word may be easier as you’ll have both hands free)
  • A rug, some cardboard boxes, towels, similar objects

Start your training session with a few repetitions of fairly easy partially hidden scent items, and then a fully hidden scent item (inside an empty box or behind a chair leg, for example). If your dog succeeds, let them wait behind a closed door while you place your next hide.

Ensure that this time, the hiding place is very quickly and easy to locate. Your dog should ideally almost immediately smell and find the target item once you let them into the room.

Repeat this step a couple of times to clearly communicate that being left outside of the search area is now part of the game.

You can now become more creative with your hiding places – vary the height of the placement, vary the objects in/under/among which you hide your target scent item, and begin to challenge your dog!

If your dog struggles, reduce the level of difficulty and allow them to succeed again to keep them enthusiastic.

Odour fills the air of a room pretty quickly, so after the initial couple of searches, your dog will find it harder to locate the strongest concentration of the target odour (your scent item) among all of the residual odour in the room.

You may notice your dog searching where you’ve previously hidden the item. To make it easier for your dog, you can either open windows and doors for a few minutes to clear the air before you let your dog search again or move to a different room and hide your scent item there.


Author: Christina Wells

Welcoming a dog into your home

Do you still remember what it was like when you first decided to welcome a dog into your home? Perhaps you spent weeks researching breeds, perhaps a rescue dog online caught your eye, or perhaps you suddenly found yourself with a dog by sheer chance.

Most of us will have spent days, weeks or even months dreaming up what our life would be like with a new dog in the house. What would they look like? How would they fit into our lifestyle and routines? Which dog training classes would we attend? Where would we take them to socialise? If your dog came from a rescue abroad, you may have only got to know your dog through photos and videos as well – poring over every bit of footage in a bid to get to understand their behaviour and personality traits.

Nevertheless, for most of us, our imagination will fill in the blanks and help us to envisage exactly what life will be like with our new addition.

Then, our dog comes home. They may be tired and stressed from travelling, they may be confused, they may show behaviours you weren’t expecting to see…

They may not match the image your mind created.

And that can be incredibly disappointing and disheartening. You might even find yourself grieving the dog your imagination had dreamed up. You might feel regret towards your new dog because they aren’t what you had anticipated.

Please know that it is normal to feel those emotions and it happens to more new dog owners than you think.

In my personal experience, the first couple of weeks or so are the most challenging. The stress of being in rescue and often the long journey to their new home can mean that your new dog may initially struggle to cope with all of the new experiences. Just like when us humans are stressed out, stressed dogs may also behave in ways that aren’t typical for them.  With new puppies, keep in mind that they have just gone through the separation from their mother and siblings, and they too need time to settle in and learn your routines.

Try to allow your new dog sufficient time to decompress and find their feet in this new life and remember to also allow yourself time and patience to settle into this new normal and get to know the real dog you’ve just welcomed into your family. Training your dog at this point shouldn’t be the priority as you both need time to bond and feel comfortable with each other. Do reach out to a clinical or veterinary behaviourist early however if you see extremely fearful behaviour or any signs of aggression. A qualified and accredited behaviourist will help you understand your dog and get you on the right path much more quickly and easily the earlier you get in touch.

It can feel relentless and the change to your usual routines can be overwhelming and exhausting. Both you and your new dog need periods of time where you can both switch of and relax, so ensuring you both have some quality time without each other can be really helpful. For your dog, this could be a tasty long-lasting chew in their crate, and for you it could be taking the time to have a relaxing bubble bath and some “me time” without your dog.

For some of us (canine and human), this period of settling into the new normal may take just a week or two, for others it may take a month, and for yet others, it may even take a few months. Please don’t be afraid to share your feelings and thoughts with your friends or even with dog professionals – most of us have gone through it once or more as well, and we are here to help you and your dog through it, too.

Author: Christina Wells

The Magic U-turn

If you are sharing your life with a dog who exhibits overreactive behaviour towards certain things, you will know that it is super hard to avoid these encounters on your daily walks.

Every time you come across the trigger – whether it’s another dog, a person, or even a vehicle – you feel the anxiety rise inside you and the dread of your dog’s imminent overreaction. But you also know that you need to get through the encounter – after all, your dog won’t ever learn how to behave properly otherwise, right?

Wrong!

Many years ago, this small piece of advice completely blew my mind and changed my world as the owner of a dog-reactive dog. Maybe it will do the same for you.

Instead of gritting your teeth and walking headfirst into yet another overreactive disaster with your dog, you can actually simply turn around and walk the other way before your dog explodes!

Using u-turns can drastically reduce the stress for you and your dog when walking your overreactive dog and they can even help your dog create positive associations with their trigger, too!

Let me explain.

When you first teach your dog the u-turn skill, you reward them every time they turn with you. Soon enough, just the word signalling the imminent turn will bring up feel-good vibes in your dog!

When you then say that word upon spotting your dog’s trigger, your dog will still receive these feel-good vibes associated with the word and can gradually associate the sight of their trigger with those good feelings, too.

If your dog is scared of their trigger (rather than over-excited), moving away from the trigger can further increase their feeling of safety and confidence as they are learning that they won’t be forced into the encounter.

Here is another nugget of gold to transform your walks:  not every u-turn is the same and some are more effective than others! What?

Traditionally, you would probably turn away from your dog and have them follow you around in a semi-circle until you both face the other way. Much like this:

Whilst this way of u-turning will still move your dog away from the trigger and spare you both the stress and embarrassment of a big reaction, it does allow your dog a full 180 degrees of visibility – a.k.a. time to build up stress and still react!

Instead, try turning into your dog! This means that your dog is facing the opposite direction much quicker and has far less time to look at the trigger.

Start training this skill by luring your dog inwards with food initially, and without any actual triggers present, until your dog will easily and happily turn with you as soon as you say the word.

Then, you can start using this magic u-turn whenever you are about to find yourself in a situation that you feel is too challenging for your dog to handle at that moment in time.

Let me say it again for those in the back: you are allowed to opt out of challenging encounters if you want to! It won’t negatively affect your dog’s training progress and it may help to maintain your sanity at times.

Author: Christina Wells

Should I get another dog?

Whilst many behaviour problems (such as barking, separation anxiety and dog reactivity) are not solved simply by getting another dog, dogs are very social animals and there are certainly benefits to both canine and human family members of adding another set of paws to the household. It isn't a decision to take lightly though!

Most people think that having an additional dog will be just the same as their current number of dogs (what’s one more, right?), and it absolutely can run just as smoothly - if you have the right things in place. Here are some things to consider if you're thinking about getting another dog.

Managing multi-dog households

I’ll preface this blog by sharing that my husband and I currently share our lives with six dogs of different ages, sizes, and backgrounds, and the tips given are based on my personal experience and are things that make our large multi-dog household easier to manage.

Generally speaking, the more dogs you have in your household, the less you can let slide. With just one dog, you may not mind so much if your dog changes sides frequently when walking on lead, it may not be such a big deal if one dog gets a bit hyper in the house occasionally, it’s easy to grab one dog if they dash out the door…. But, add one or more dogs to the situation, and it soon becomes a lot less enjoyable.

If your dogs vary significantly in size or age, they may have different needs and preferences that need to be catered for to ensure their safety and comfort. For instance, if you have numerous young large dogs, but also a small senior dog (Like I do!), then it is important to make sure that your senior dog has a safe place to retreat to when the young ones get a bit too rowdy with each other. In addition, it will also fall to you to ensure that the young ones do not cause bother to your older dog.

My top tips for effortless multi-dog households are:

  • Crate training! Having the option to crate your dogs safely and comfortably, means it is so much easier to work with individual dogs on their own, feeding high-value chews without arguments, ensuring adequate rest, and so on.
  • Designated sides for lead walking! If you have two or more dogs, it is so much easier to walk them together when each dog knows on which side of you they are supposed to walk on. This prevents you from being tripped up and tangled and makes so much more pleasant for everyone.
  • Colour-coded leads! This tip is less relevant for those who have just two dogs, but with three or above, I find having colour-coded leads invaluable! This means you know immediately which lead is attached to which dog and especially in emergencies where you need to grab a specific dog as quickly as you can, this can be super helpful.
  • Individual training! This is probably the most valuable tip of all. For any dog to be able to reliably follow instructions and perform desired behaviours in a group, they ideally need to have learned and practised them individually first. It is very easy to let your training slide when you’re handling multiple dogs, and it is a slippery slope. Make sure you regularly train your dogs on a one-on-one basis – your dogs’ skills will be sharper, and their individual confidence will benefit, too.
  • Condition a strong recall cue!  Of course, teaching recall is always a good thing to do, but when you are trying to keep tabs on numerous dogs, it becomes even more important to be able to call them all to you immediately as it’s much harder to “just grab them”.
  • Condition their names well! Most dogs know their names, but often we use their names so often in day-to-day life that the name loses its value as a cue. With larger multi-dog households, it can be very helpful to condition your dogs’ names as individual recall or attention cues. This allows you to recall or get the attention of an individual dog reliably when needed without summoning the whole group.

Author: Christina Wells

Booking for our May dog training classes is live!!

We are super excited to announce that our Puppy and Adolescent dog training classes will start again this Spring!!

Our dog training classes start on Wednesday, May 18th and will run for 6 consecutive weeks. The classes are run and organised by our two fully accredited canine instructors (PACT-KSA ABTC-ATI), Elona and Minas.

Using force-free, positive reinforcement, reward-based training methods we will help you be your dog’s best friend, we will look into the subtle signs that dogs use to tell us how they feel about their environment and interactions in addition to training some of those well sought out behaviours that every dog parent wants!

In our puppy class, we will work through some basic obedience training such as sitting/lying down, engagement and focus work when on and off the lead! We will focus part of our classes on the massive topic of socialisation. Quite often, the term socialisation is only used to describe when our puppies meet new dogs and people, but that is just the tip of the iceberg. The only limit to socialisation is our imagination: walking on usual surfaces like stones, a hard floor, sand; hearing new sounds; seeing unusual items like crouches, a person wearing a hat/glasses. We will introduce your puppies to some common “unusual experiences” from a safe setting and we will coach you on how to read your dog and how to help them go through an exciting experience!

In our adolescent dog training classes, we will take things a step further to proof the behaviours your dogs might know already or to teach them new ones. We will work on recall and loose lead walking near other dogs and human distractions; we will play focus games in the exciting class environment to show your dog how much fun they can fun with you rather than the dog next to them! We will work on your dog’s settle behaviour and target mat training.

Our puppy classes are suited for puppies that are up to 6 months old at the start of the class while our teenage trouble class is suited for dogs from 6 months and older. We will tailor the class to the individual dog’s needs so this is the perfect class for young dogs learning new behaviours or for older dogs where you might like to take things to the next level!

We can’t wait to start training with you!

Elona & Minas

The Best Harness For Training Your Dog

y-front harness

Training your dog to walk beautifully on the lead starts with getting the right equipment. Contrary to popular opinion, there is no one harness that will stop pulling and teach your dog to walk on a loose lead, but making sure your dog is comfortable and secure is an important place to start.

Using body harnesses for our dogs has grown in popularity over the years – they keep our dogs’ necks safe when pulling into the lead which is especially good for young puppies who haven’t yet learned how to walk nicely.

With popularity comes choice, and boy, do we have a lot of choice when it comes to buying a new harness for our dog! Different sizes, styles, materials, colours…

Which Harness Style For Your Dog?

Whilst most manufacturers will have brand-specific features in their designs, we generally have two main walking harness styles: The Y-front and the straight-front (also known as a Norwegian harness).

As the names suggest, Y-front harnesses feature a Y-shaped design on the dog’s chest and straight-front designs feature a single strap running horizontally across the chest.

Y-front harnesses come in a lot of variations, but the predominant design remains the same. This style of harness is favoured by most dog trainers, behaviourists, vets, and physiotherapists since it allows free movement of the dog’s shoulder blades. Y-front harnesses typically have one or two fastening buckles on the dog’s back, although brands like Perfect Fit do offer additional buckles on the neck as well. This can be helpful for dogs that don’t like harnesses that go over their heads.

Most brands offer one or more Y-front options, for example, the Ruffwear Front Range Harness, the Hurtta Casual Y-Harness, the Red Dingo Classic Dog Harness, and many more.

y-front harness

Straight-front harnesses have a bit of a tarnished reputation due to the positioning of the chest strap, but they can be good alternatives for dogs who do not like the feeling of the additional strap between their front leg, or who don’t enjoy pushing their heads through the fairly small neck opening. Straight-front harness feature a much larger head opening than Y-fronts and usually only have one buckle on the dog’s back or side, so are very quick and fuss-free to put on and take off.

This harness style can be a great choice for dogs who are in the process of learning to feel comfortable when wearing a harness.

One of the most common straight-front harnesses we currently see is probably the Julius-K9 IDC Powerharness, but many other brands will offer a straight-front option as well. The Hurtta Casual harness or the Hunter Norwegian Racing harness are other examples.

Houdini Hound?

However, if your dog is a bit of a flight-risk – perhaps a new rescue dog, or a dog who is fearful of certain triggers in their environment – a straight-front harness is not the most ideal choice since they are designed to allow a dog to quickly back out of the harness.

Instead, consider an escape-proof double-strap harness for flighty dogs. This style is typically a Y-front harness with an additional tummy strap that fastens behind the dog’s ribcage, thus preventing the possibility of reversing out of the harness when frightened. This style is also brilliant for deep-chested breeds such as Whippets. We love the Ruffwear Flagline harness, but there are quite a few options on the market now.

What If My Dog Hates Their Harness?

Whilst we usually consider harnesses the most comfortable equipment choice, some dogs can find them quite aversive and may avoid having to wear one. We can usually improve a dog’s feelings about wearing a harness by spending some time introducing it gradually with positive reinforcement, but we also recommend checking the harness fit and inspecting for signs of wear and tear every week or two, as ill-fitting or damaged harnesses can chafe, pinch, rub or even cause acute pain.

As your dog grows and develops, they may also change shape and need a different size and fit of harness. For older dogs, there are variations of harnesses that allow you to give extra support and lift your dog’s back end. Our friends at Canine Arthritis Management are a great source of information on equipment for the older dog.

If despite your best efforts your dog still really doesn’t enjoy wearing their harness, consider trying out different styles to see if your dog prefers a different fit, or opt for a collar or even a head collar instead. Every dog has a different preference and it’s okay to choose what your individual dog feels most comfortable in! Do bear in mind that if your dog is a puller, attaching the lead to a collar or headcollar could put severe strain on their neck and back though, so if opting for this, lots of loose lead training (and possibly some expert help!) will be essential!

So, there you have it! A good harness won’t stop your dog from pulling, or cause them to pull, but the right harness for your dog can help them feel happy and comfortable. Happy dogs learn faster and better, so spending the time to find the right equipment for your dog will set your loose lead walking journey up for success!

Author: Christina Wells